Running Tests from Evergreen Tasks Locally
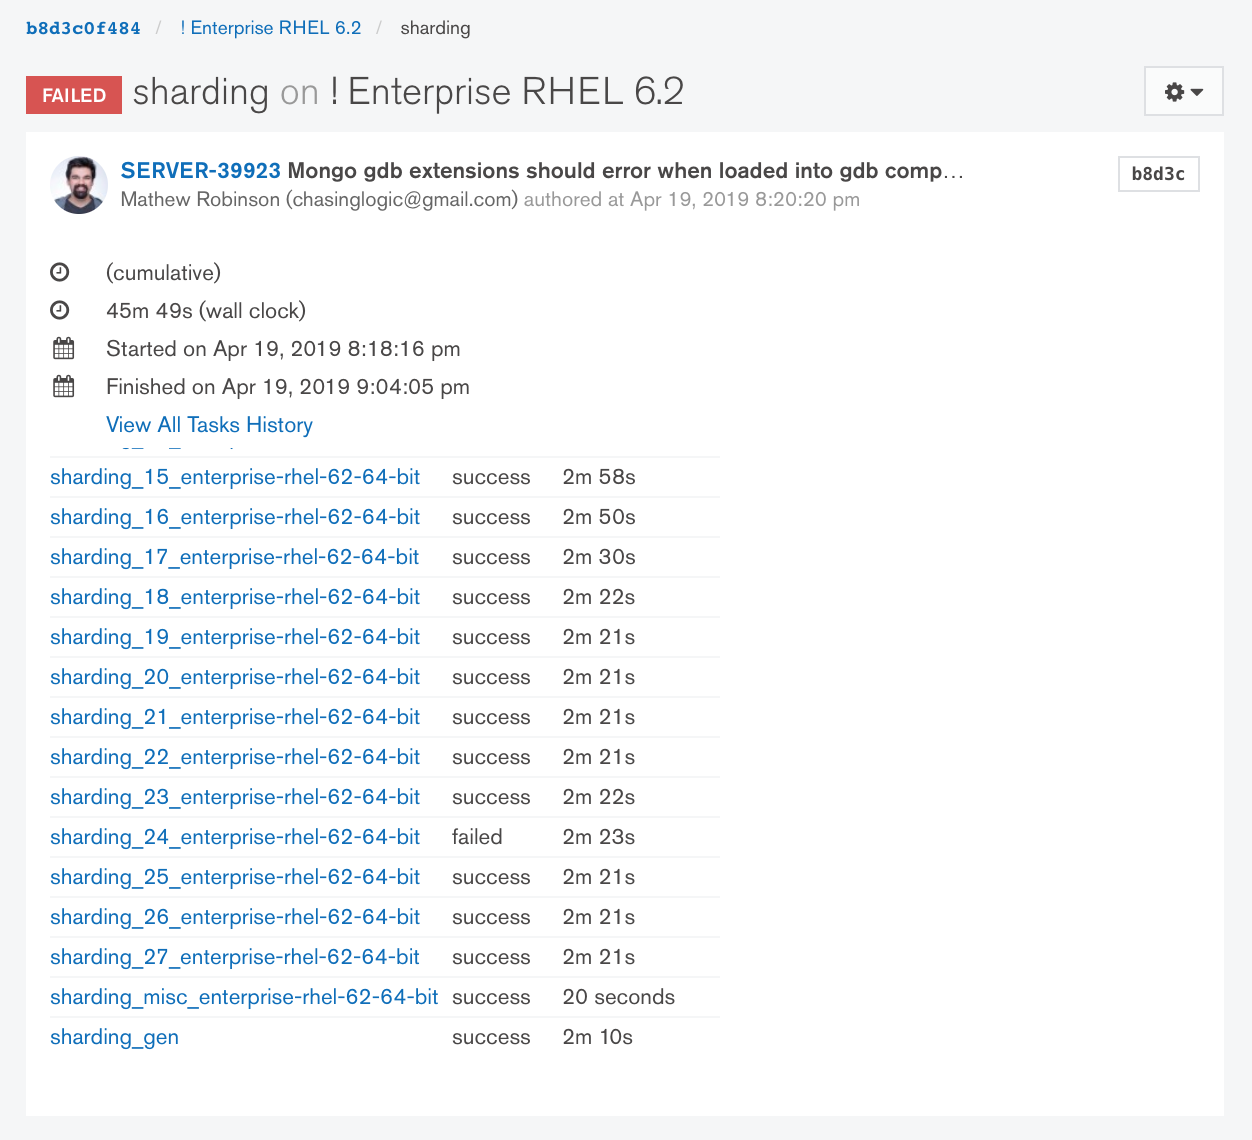
The Evergreen task page (also commonly just referred to as the task page) shows (1) the overall status of a test suite and (2) the individual pass/fail status for tests within the test suite. As a result of the effort to have shorter Evergreen tasks which are able to be run in parallel on separate machines, Evergreen added a notion of display tasks which group the results of multiple tasks together on the same task page. The tasks which comprise a display task are referred to as execution tasks. An execution task is simply a task that actually ran on a machine.
Certain information about how a task ran on a machine is only present on the task page for the execution task rather than the task page for the parent display task. More on this is covered below.
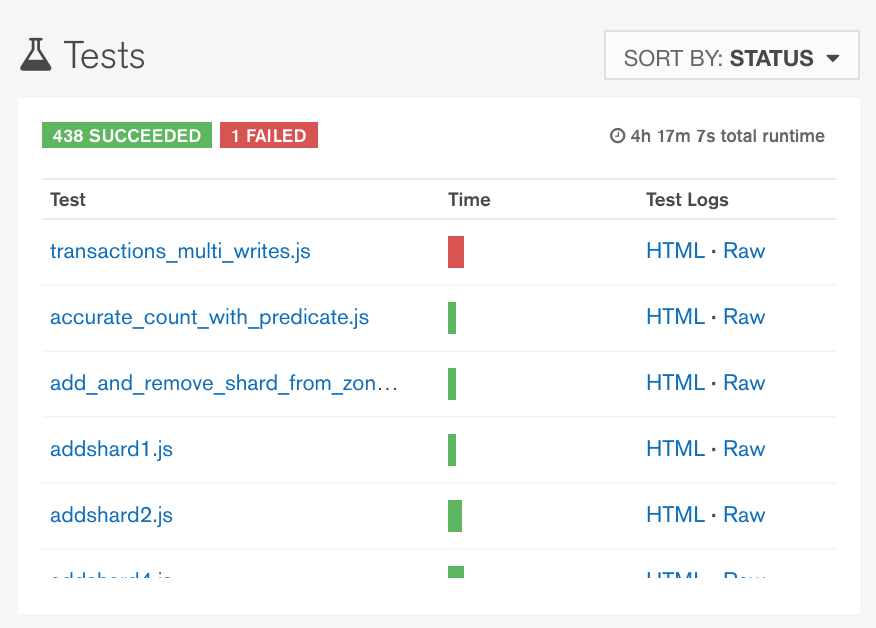
The test results pane is present on both the task page for each execution task and for the parent
display task. It shows the individual pass/fail status for tests within the test suite, along with
links to https://logkeeper.mongodb.org containing the test output. The test logs include any log
output from the test binary (e.g. the mongo shell for any JavaScript integration tests) and any log
output from the MongoDB cluster (if one is started by the test suite) from while the test was
running. The "HTML" links go to Lobster, a browser-based log viewer that works pretty well for
large amounts of log data. The "Raw" links are suitable for using curl or wget to download the
logs and then view them locally.
The task page for an execution task has links to the task logs and—assuming you're logged in to Evergreen—to the system logs as well. The task logs contain the log output written to stdout or stderr from any commands executed during the Evergreen task. For the purposes of trying to run a test from an Evergreen task locally, we only need to concern ourselves with the log output from resmoke.py.

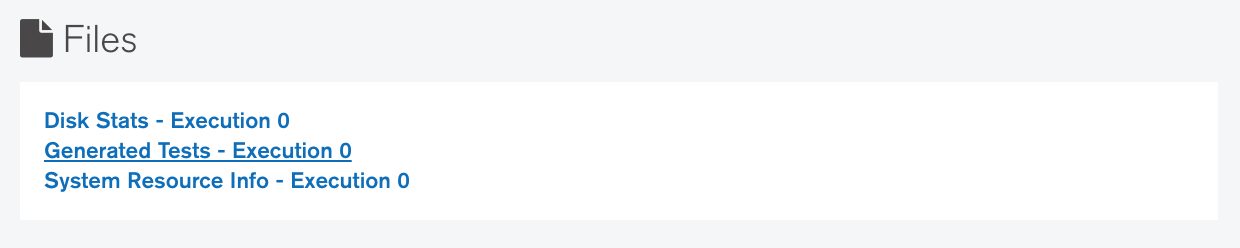
If a test is configured to archive its data files, then links to the tarballs for the data files will appear on the task page. Examining them may be useful to diagnosing data inconsistency issues. More information about archived data files can be found here.
The task logs will contain a "resmoke.py invocation for local usage" log message which you can copy-paste to run the entire test suite locally. For example:
[2019/04/19 21:01:34.375] [resmoke] 2019-04-19T21:01:34.374+0000 resmoke.py invocation for local usage: buildscripts/resmoke.py run --suites=sharding --storageEngine=wiredTiger --continueOnFailure --jobs=16 --repeat=1 --shuffleMode=on --storageEngineCacheSizeGB=1
If you're only interested in running a single test from the test suite, then specify the path to the test file after all of the arguments in the above invocation. Protip: Near the beginning of the test logs will be a "Starting ..." message which contains the path to the test file relative to the root of the mongodb/mongo repository.
[js_test:transactions_multi_writes] 2019-04-19T21:02:11.112+0000 Starting JSTest jstests/sharding/transactions_multi_writes.js...
Altogether it would look like
buildscripts/resmoke.py run --suites=sharding --storageEngine=wiredTiger --continueOnFailure --jobs=16 --repeat=1 --shuffleMode=on --storageEngineCacheSizeGB=1 jstests/sharding/transactions_multi_writes.js
Note that if you're attempting to run a multi-version test suite (see below) then the
/data/multiversion directory must be on your PATH.
PATH=/data/multiversion:$PATH buildscripts/resmoke.py run --suites=multiversion ...
Protip: Consider permanently adding the /data/multiversion/ directory to your PATH by
updating your .bashrc, .zshrc, etc.
Some test suites require some additional setup before they can be run. The following sections are a
non-exhaustive selection of the most common test suites you may end up trying to run locally.
Protip: The source of truth for how any test suites which aren't covered here are run lives in
the etc/evergreen.yml project configuration file or in the "Generated Task Config" tarball
attached to any _gen-suffixed Evergreen task (for example).
Multi-version test suites encompass anything which exercises upgrade/downgrade or mixed-version
MongoDB clusters. Logic for spawning an earlier version of MongoDB within a JavaScript test is built
into the mongo shell by searching for a <executable name>-<version suffix> file (e.g.
mongod-5.0) on the PATH. Tests which do so can most easily be identified by their usage of
binVersion as an argument to MongoRunner, ReplSetTest, ShardingTest, etc. Some examples of
Evergreen tasks that do this are listed below:
- aggregation_expression_multiversion_fuzzer
- aggregation_multiversion_fuzzer
- multiversion
- multiversion_auth
- sharding_last_stable_mongos_and_mixed_shards
- update_fuzzer
- update_fuzzer_replication
The "do multiversion setup" function defined in the etc/evergreen.yml project configuration file
is responsible for running buildscripts/resmoke.py setup-multiversion. The arguments to
the buildscripts/resmoke.py setup-multiversion can be found in the task logs. You may need
to adjust the --platform and --architecture arguments in order to download binaries suitable for
your local environment.
[2019/04/23 20:25:52.106] rm -rf /data/install /data/multiversion
[2019/04/23 20:25:52.106] $python buildscripts/resmoke.py setup-multiversion
[2019/04/23 20:25:52.106]   --installDir /data/install
[2019/04/23 20:25:52.106]   --linkDir /data/multiversion
[2019/04/23 20:25:52.107]   --edition enterprise
[2019/04/23 20:25:52.107]   --platform rhel80
[2019/04/23 20:25:52.107]   --useLatest 4.0 4.0.5 5.0
Use --platform macos and --architecture x86_64.
mkdir -p /data/install /data/multiversion
rm -rf /data/install/* /data/multiversion/*
# Use `--platform macos` for versions MongoDB 4.2 and later.
python buildscripts/resmoke.py setup-multiversion --installDir /data/install --linkDir /data/multiversion --edition enterprise --platform macos --architecture x86_64 --useLatest 5.0
Refer to Wikipedia's article on fuzzing to learn more about fuzz testing in general. MongoDB fuzzer test suites encompass anything which use the 10gen/jstestfuzz repository to randomly generate test files that are later run by resmoke.py. All of Evergreen tasks that do this contain the word "fuzz" from either "jstestfuzz" or "fuzzer" being in their name.
It isn't necessary to run the fuzzer locally to re-generate the generated test files. The generated test files are uploaded to S3 and the "Generated Tests" link to download them can be found in the files section on the Evergreen task page.
The generated test files should be extracted into a top-level jstestfuzz/ directory within the
mongodb/mongo repository.
mkdir -p jstestfuzz
rm -rf jstestfuzz/out/*
curl -s https://s3.amazonaws.com/mciuploads/... | tar -C jstestfuzz/ -zxv
The final layout should look like jstestfuzz/out/<lots of .js files>.
$ tree jstestfuzz/
jstestfuzz/
└── out
    ├── jstestfuzz-ba13-ent_acdd-qa_a6ce-1556051746371-0.js
    ├── jstestfuzz-ba13-ent_acdd-qa_a6ce-1556051746371-1.js
    ├── jstestfuzz-ba13-ent_acdd-qa_a6ce-1556051746371-2.js
    ├── jstestfuzz-ba13-ent_acdd-qa_a6ce-1556051746371-3.js
    ├── jstestfuzz-ba13-ent_acdd-qa_a6ce-1556051746371-4.js
    ├── jstestfuzz-ba13-ent_acdd-qa_a6ce-1556051746371-5.js
    ├── jstestfuzz-ba13-ent_acdd-qa_a6ce-1556051746371-6.js
    ├── jstestfuzz-ba13-ent_acdd-qa_a6ce-1556051746371-7.js
    ├── jstestfuzz-ba13-ent_acdd-qa_a6ce-1556051746371-8.js
    └── jstestfuzz-ba13-ent_acdd-qa_a6ce-1556051746371-9.js